I sometimes enjoy creating itineraries and studying new routes for future bicycle trips and however I believe Google Maps isn't the most professional tool, its intuitive features and potentials make it one of the best and most used software to create maps online. In this article, we will create step by step a map with Google My Maps, in order to then share, download or save it in your Drive and analyse a possible travel itinerary.
I have also realised a video guide to create itineraries with Google Maps where you can find different suggestions to the ones you will read about here. Scroll down below at the bottom of this article in order to watch the video and leave comments here or on our YouTube channel if you have questions, doubts or useful suggestions. Video and images are in Italian only but i hope they can be easy to understand even if you don't speak italian!
The following guide is for Google Maps desktop users, while if you want to use it on mobile, you have to follow the procedure (a little trickier) and download the My Maps app or access to Google from IOS or Windows browsers.
Firstly you will have to sign in to Google Maps, or better... if you don't have one yet, you will have to create a Google account. If you own an Android mobile device, you already have a Google account, so you'll need to use your credentials.
After entering your Google credentials, you have to access Google Maps. The screen shows a map with a simple search bar at the top left and not much more.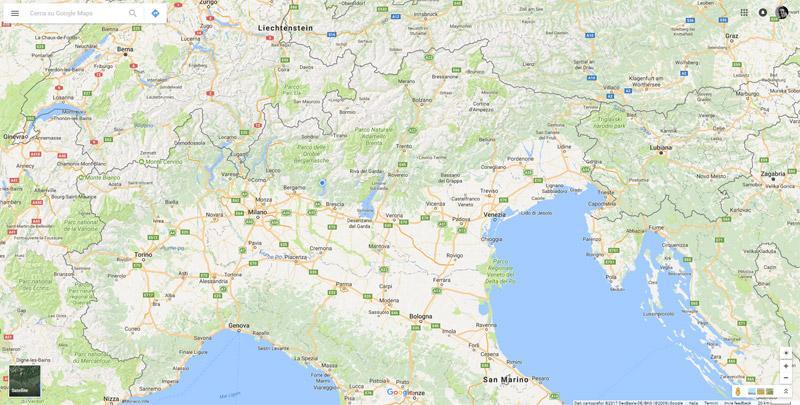
Create the customised map
To start creating your customised map, you will have to click on the Menu icon on the top left.

Among the numerous options, you are looking for "Your places".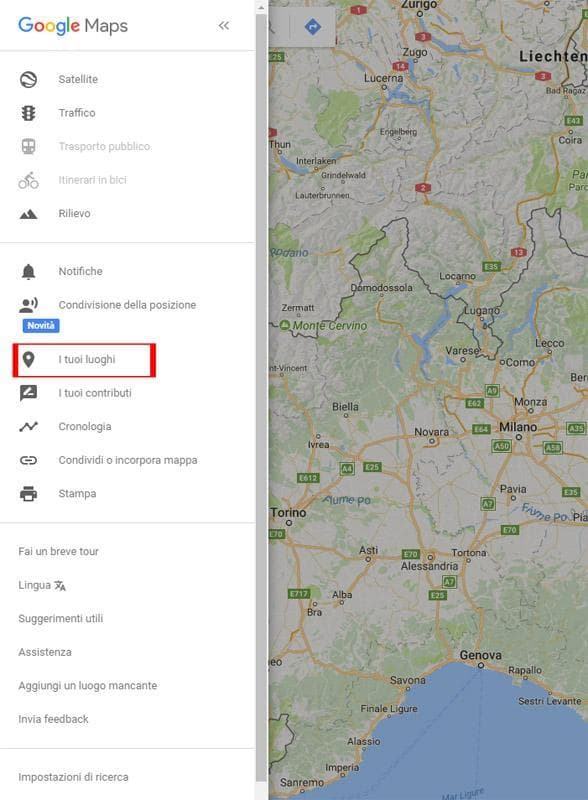
You will now see four options: labelled places are labelled by you in Google Maps (personally I labelled Home and Work). Saved places already have a reference you want to keep track in Google Maps. Visited places contain the history of your recent places (of course if you abled the positioning and data on your smartphone while you travel). The last one is what you're looking for: the "Maps" section.
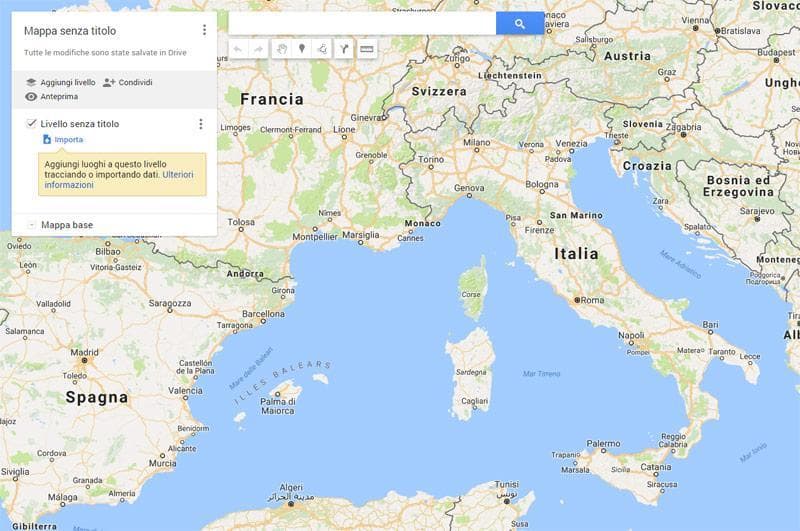
 By selecting Maps you will open all the maps created by you. If you've never used this function, you won't have any map, but you will find a "Create Map" button at the bottom of this section.
Characteristics of the map and layers

Create a route

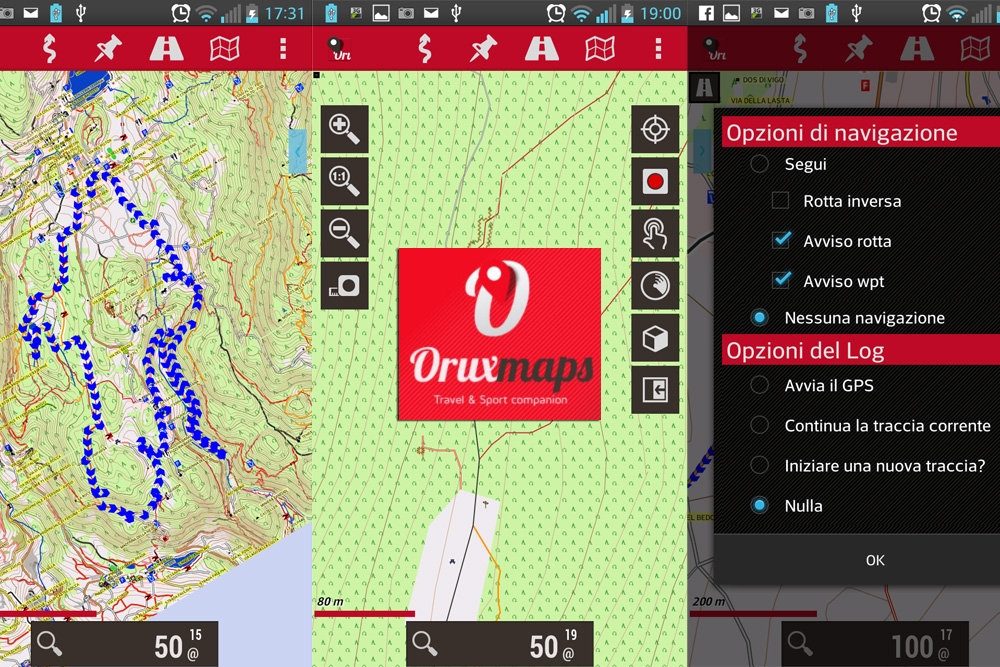
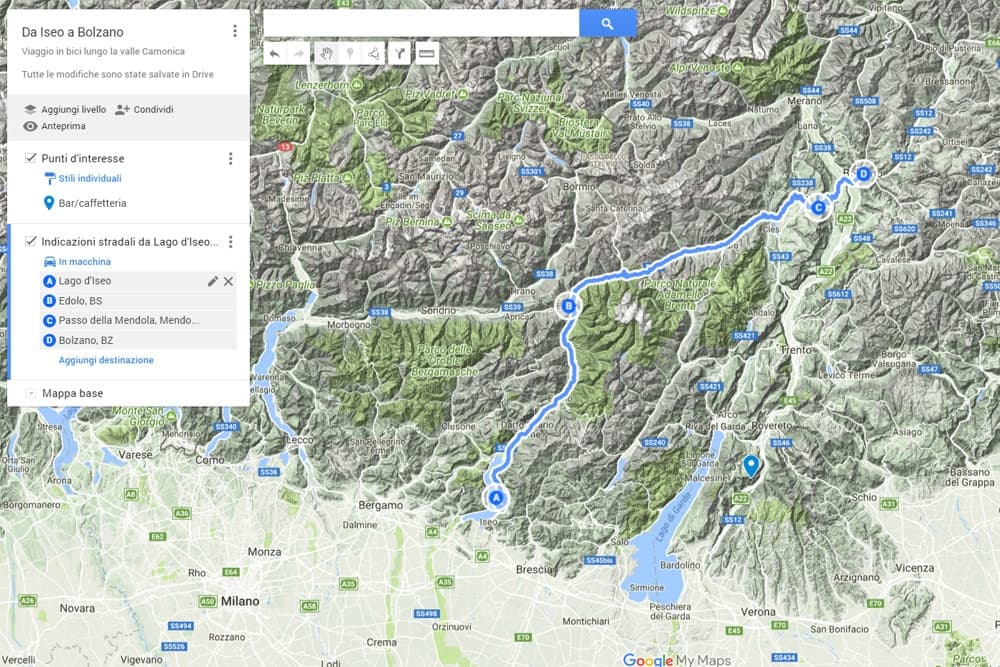
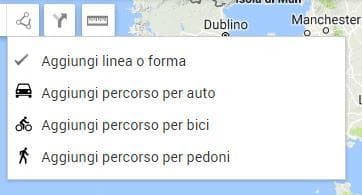 By selecting the Draw a line icon, you will see four options, but in fact, you will only need two for a bicycle tour, in my opinion: Add driving route or Add a walking route. You might be wondering why I didn't mention the icon Add biking route: in Italy right now Google data about cycling routes are very limited and often the result of your search will be a miserable "Couldn't find a route". To follow a walking route by bike might be dangerous because you might end up in some trails, while to follow a driving route might as well be dangerous because you might face very busy roads or even motorways. So keep in mind that the itinerary must be studied very well and remember not to trust the first solution offered by Google.
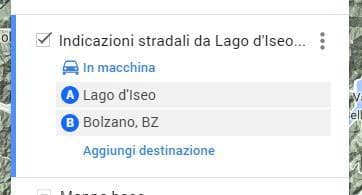 As you can see from the picture here above, underneath the layer title you can also change afterwards the type of path to process (car, bike, walking). Once added starting and ending points, you will have your itinerary. You might want to take a deep look at your itinerary and the roads involved and evaluate if the itinerary suits your needs. If you want to adjust it you can add halfway points by clicking on Add destination, by dragging the itinerary or the places where you want to. Repeat this operation until you will be satisfied by the result.
Share the map

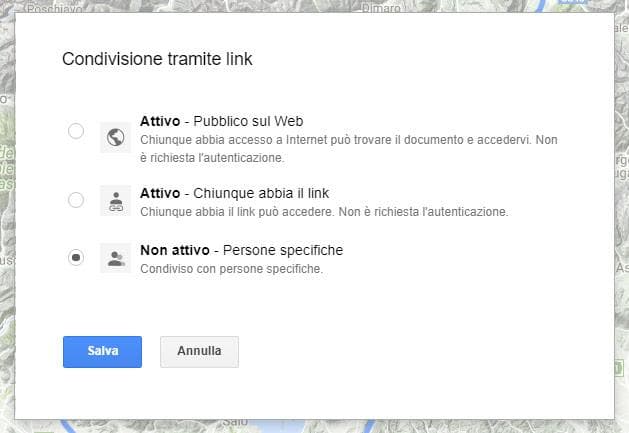 Now you can decide based on the use of your itinerary, which permission give to the map. If you want to share it on a website you have to make it public, otherwise nobody will be able to see it. If you want to share it with friends only, you can select the second option "Anyone with the link". Moreover, you can download the map in KML format or embed it on a website with an "iframe". You will need to click on the three dots right to the map title.
 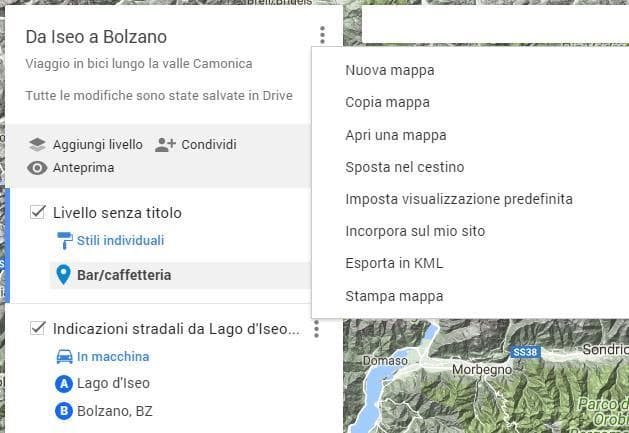 Among the numerous options, you might consider: "Embed on my site" in order to obtain a code to add to your blog or website, or "Export to KML/KMZ" in order to obtain a file on your PC and visualise your map on Google Earth or other cartographic software.
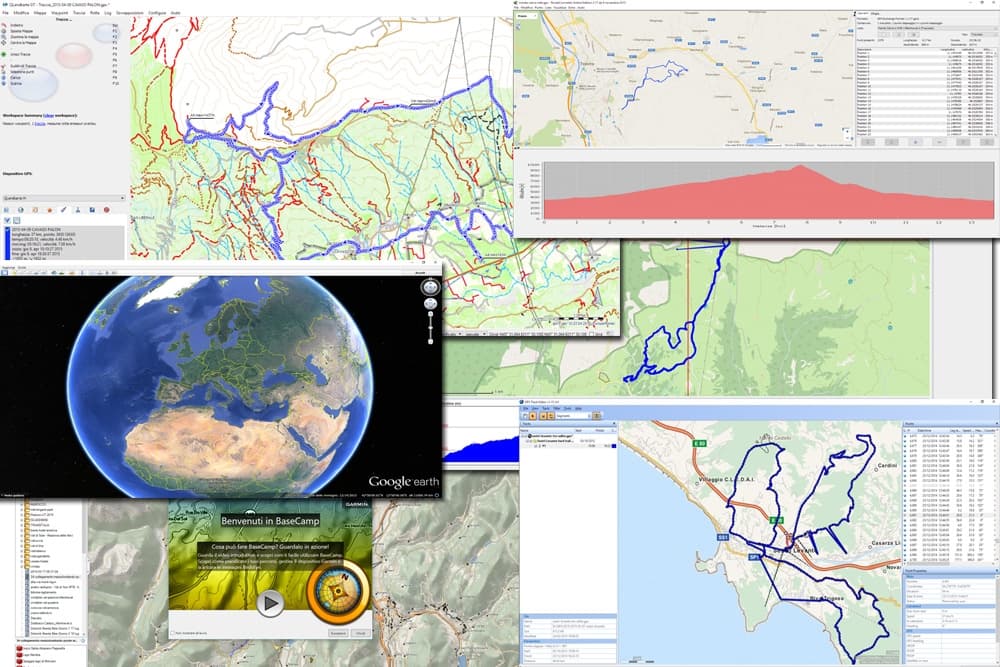
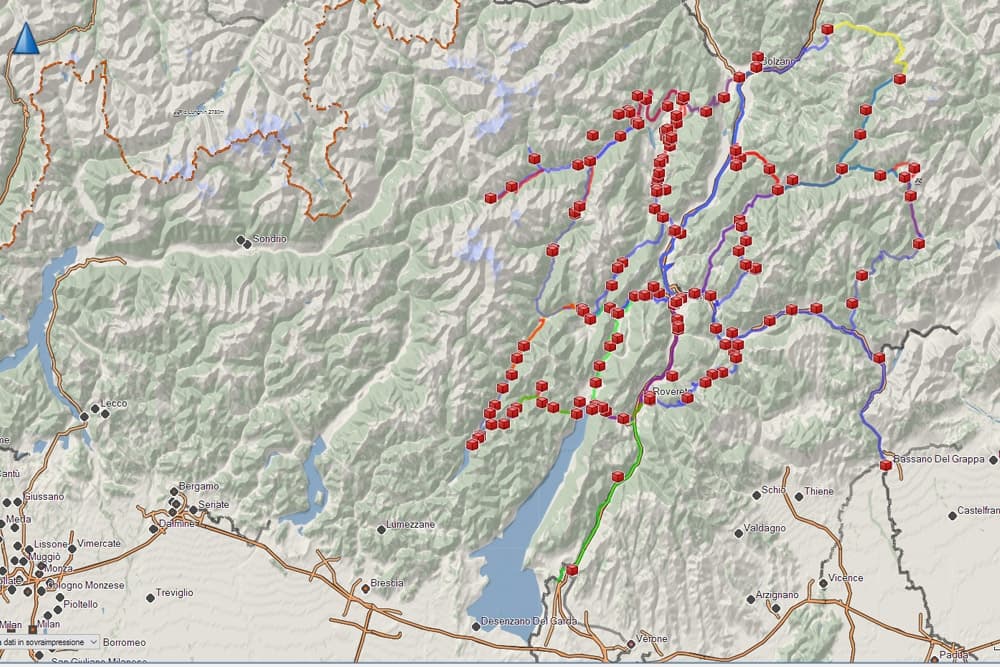