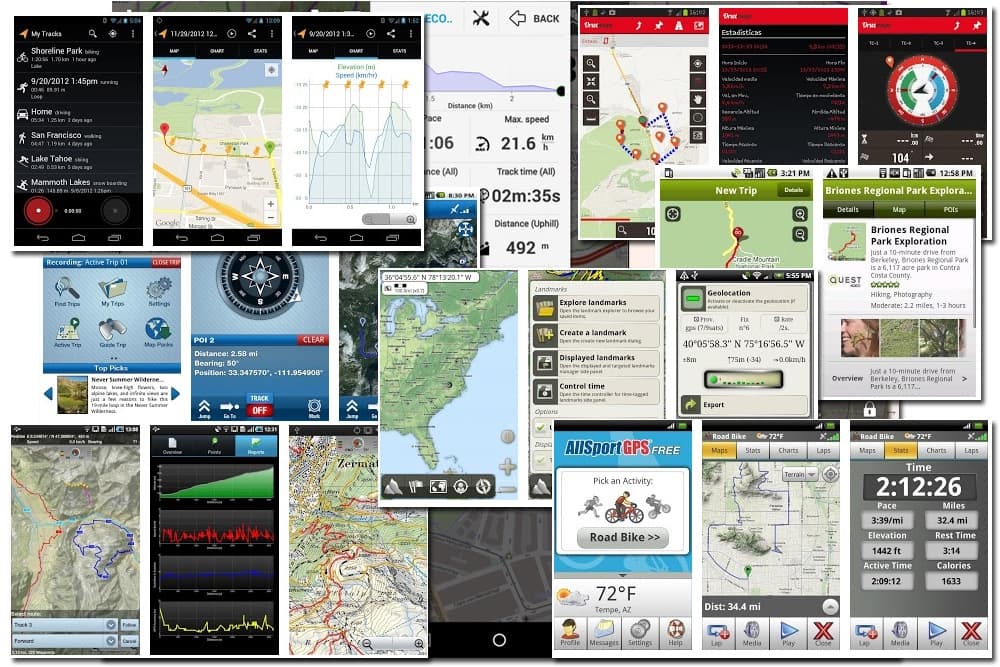
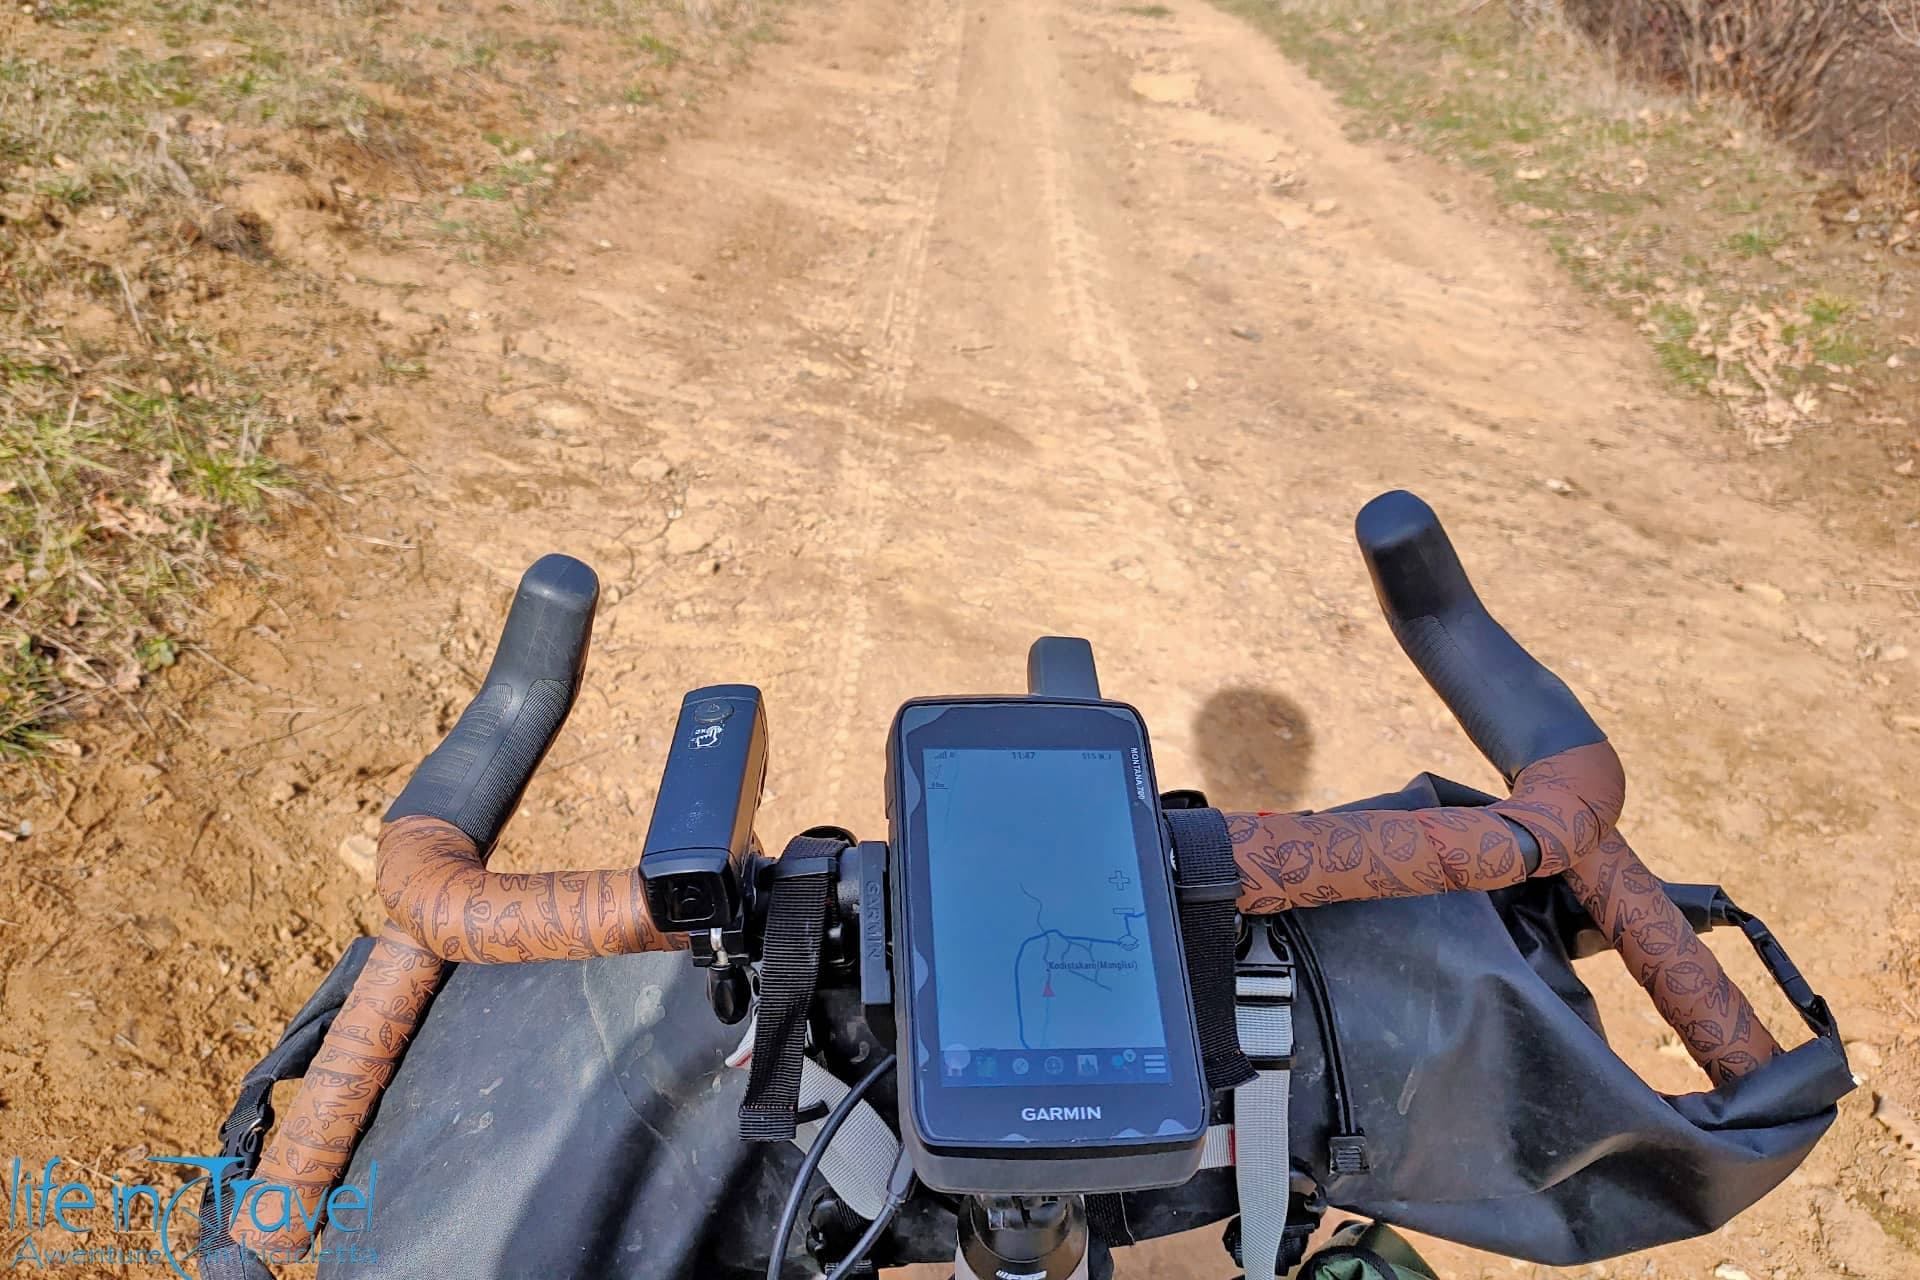
Lately, I've been experiencing a lot of curiosity about outdoor GPS Apps, in particular for Android OS. In general, what I like the most about these apps is their facility of use: I don't always have a lot of time to study and learn methods to exploit my smartphone at its best during MTB excursions or bicycle travels, mostly because I use a dedicated GPS navigator that is complete and satisfying. For emergencies, curiosity or urgency I don't disagree about using my smartphone with a good outdoor App, and recently some apps are remarkable. Today I'll present one of the most intuitive apps ready to use: Locus Map, very convincing and really powerful in its free version.
This App is only available for Android OS, like Oruxmaps, another great outdoor GPS App recently reviewed, while if you own an iOS take a look at GPS Kit, even if I cannot give my personal advice about it, not owning an iPhone. You can read 10 best GPS outdoor Apps for your tracks if you want to try some other outdoor GPS Apps to use with Android.
On Google Play you can find Locus Map in two versions: the free one (that you are going to read about) and the Pro one, which you can purchase for 7,50€. The main differences are the presence of advertisement banners, limited geocaching, no track recording and no weather forecasts in the free version. All features that can be overlooked by a basic user.
My advice is to start with the free version and then, if really necessary, to purchase the PRO version when you feel comfortable with it.
You can download Locus Map Free on Google Play at this link.
The main menu of Locus Map
After downloading Locus Map Free on your device and accepting the license conditions, you will be asked once and for all to download some necessary files for the App to work properly. You will have to choose the basic settings (full-screen mode, units, that can be modified also later on) and you'll be able to use the App. The main screen, which you can see in the picture below, is simple and intuitive: a map occupies the centre of the screen while on the top and on the bottom there are two menus. Below the upper menu, in the free version, you could have some non-invasive ads. Remember, before starting your excursion, activate the GPS in your smartphone settings, and make sure you already have some maps on your phone.
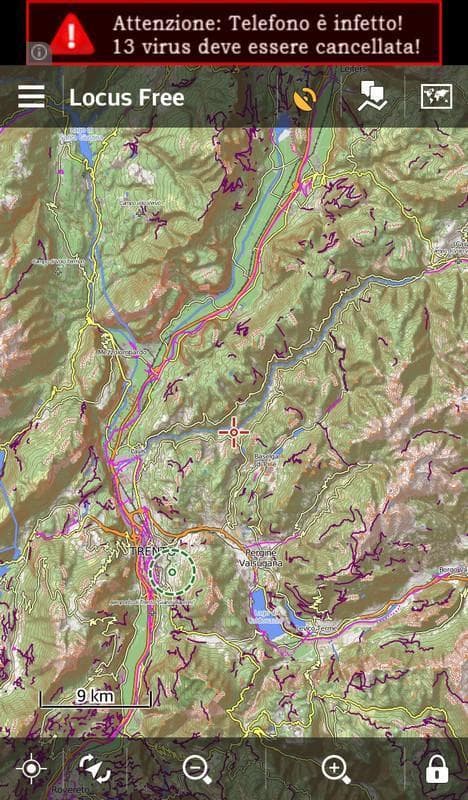
Let's take a look at the single voices of the main menus, starting from the top one:

- Main Menu
- At the top left part of the screen there is the button to access the Main Menu, that has six sub-voices and some external links. The menu is fully customizable in the first five voices, while the Other section cannot be removed, allowing to access to everything that will be hidden once set your own favorite menu. By pressing on one of the voice for a couple of seconds, a window will open and you'll be able to select the most used features. These features are a lot, always updating and expanding. In the picture below, you can see Maps, Data, Search, Import data, Settings. Other useful features that you could place instead are Share and Export, Record Track, Add new track and Measure, Navigate to..., but this list, divided into categories, is very long. Some features are available only in the PRO version. For a complete and updated list of the features please visit the App official website. In the Locus World section of the Main Menu, it's possible to access to external links like the shop, the news of the day, the blog and other.

 GPS Signal
- The first icon of the top right part of the screen indicates the status of the reception of the GPS signal. The colour of the icon can be Red when there is no connection with satellites, Yellow when the satellites have been locked but the signal quality is bad, or Green when the GPS signal is good. I suggest freezing in an open space for a while before recording or using the navigation until the small icon becomes green: from that moment you'll be able to start your track and have a good level of precision and reliability of the GPS signal. By clicking on the icon you can see the satellites locked, current longitude and latitude.
 Data
Data- The first button at the right of the GPS signal icon indicates Locus Map database. Data are divided into Points, Tracks and Elements. As you might guess, the Points are POI (Points of Interest) that can be imported or recorded during MTB excursions or bicycle trips. Tracks are exactly GPX tracks created, recorder or imported, while Elements are GPX or KLM files saved in a folder on the smartphone but still not yet imported into the GPS outdoor App Locus Map database.

Managing data is very simple and intuitive, and I'll leave you at it so you can figure out how to add a new folder (top right button) in order to sort data, import them (three dots top right) from a local, remote or Dropbox file, create them or erase them. Entering in a folder and selecting a data you'll get some information about it (coordinates, details, creation date, statistics in case of tracks and a small map with the localization) while pressing the blue + button on the bottom you'll be able to add a new Waypoint where you are and choose if it has to be a photo or not or start recording a new track. Trust me: it's way easier to do it than to explain it.
 Maps
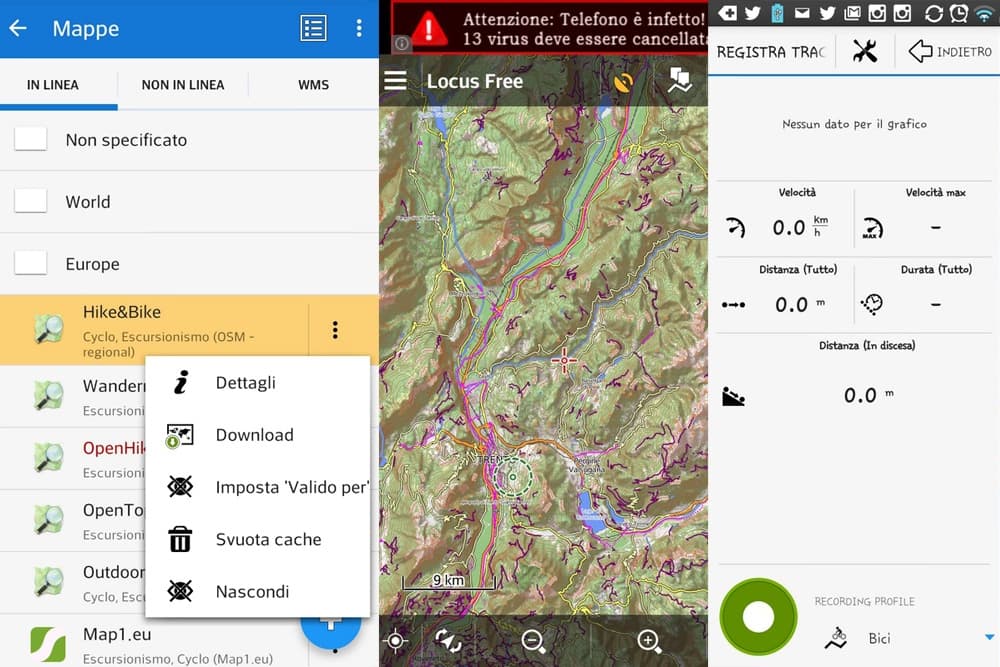
Maps- The third and last button at the top right part of the screen gives access to the maps, for their selection and organization. In this case, the main division is online maps, offline maps (so downloaded on the Micro SD of your device) or WMS. Among many maps, I can name you MapQuest, OSM and dozens of others. They are beautiful to be navigated at home with Wi-Fi, but I discourage you from using them without connection: the connection always sets you up! So my advice is to download the maps you need for your next excursion.

Downloading a map
Once installed this App, the first operation to do is to download the maps on our device (better on an SD card) in order to use them on the field even without a stable connection. You can also use online cartography, but I personally discourage that, because you might face two problems: usually, going to the mountains, the connection isn't always good and you risk not being covered by any connection; secondly using the internet on your device might drain its battery during the activity. Let's see how to download the outdoor maps for Locus Map: by selecting a map you'll be able to see its main features (area of interest, the suggested use, the possibility to view lines or download them). To download the map you'll have to press on the three dots at the right of the desired map: in the select Download, and confirm. You'll have the possibility either to download the area on your screen at the moment or select the area, or download maps by country... I personally prefer this last option, even if an entire country might be a little heavy. The ease of this operation might be the game-changer between this App and Oruxmaps, which requires more complex phases. An alternative is to access (directly from your smartphone) the website Openandromaps.org and install directly some maps on this GPS Outdoor App, Locus Map Free, or on Oruxmaps.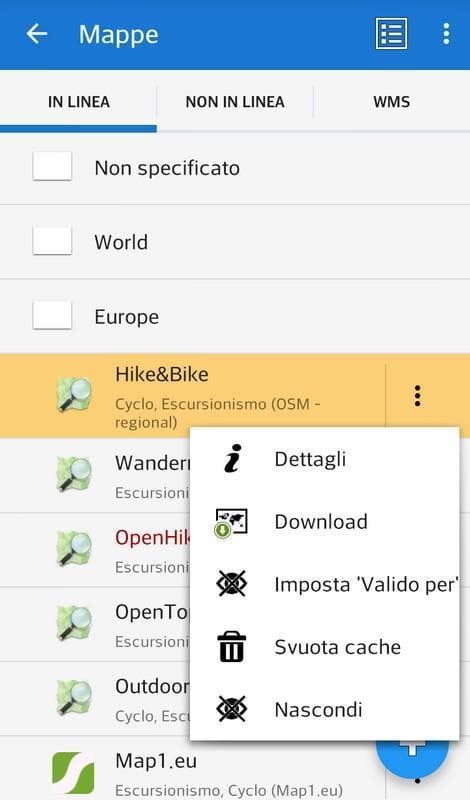
 Map Rotation
- This button allows us to obtain a rotation of the map following the cardinal points or to show the visual following the orientation of the smartphone (and consequently of our sight). Let me rephrase: if the function is not activated, the map shows the North at the top, and by rotating the smartphone, the map doesn't rotate or move. If this function Map Rotation is activated the map will be reoriented following the cardinal North and by rotating the smartphone (or better, moving our position) it will always be oriented towards North. The same happens for the function Show view, available from the mini-menu that will open by clicking on this button: on the map an orange angle will appear, showing what we are framing with our device.
 Zoom
Zoom- The two buttons centre at the bottom are the easiest and the most intuitive ones: they can be used to zoom in or out on the map. As usual, on a touch screen smartphone, you can do this operation by pinching and spreading on the area of interest.
 Block
Block- The lock at the bottom right part of the screen allows blocking the screen. By clicking on it you'll see three possibilities: the first will block the zoom on the level present at the moment of the activation. You'll be able to move on the map without varying the zoom; the second will block the screen... It's useful if you want to watch the screen that you are using also putting it in a pocket of your backpack or in your bicycle shirt; the last will activate the function Magnifying glass, allowing you to zoom in on a small area of the screen and letting the rest of it unvaried.
Following a GPS track
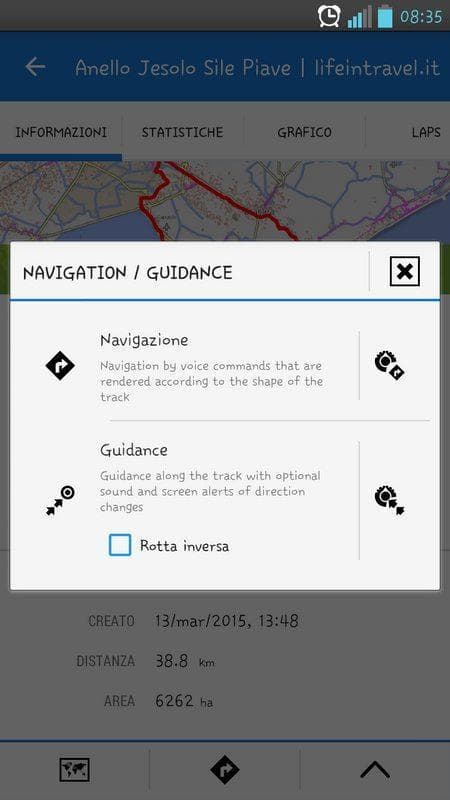
Recording a track
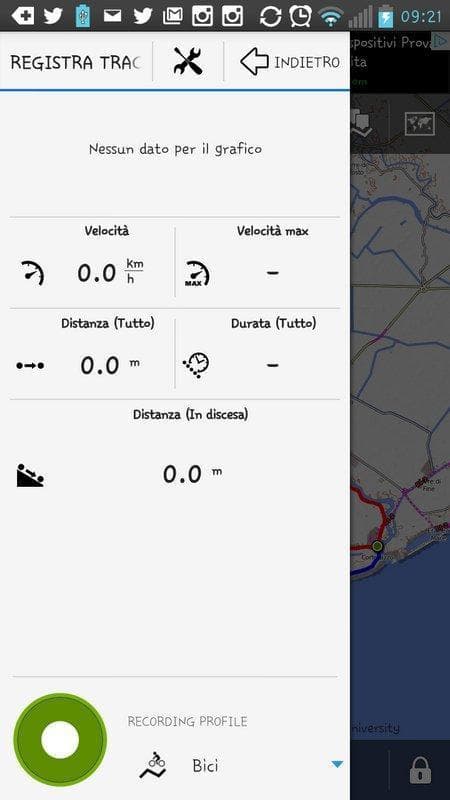
Another routine operation for GPS Apps users is recording a track. Recording a track is pretty simple with Locus Map: once reached the starting point, just activate the GPS reception on your smartphone (at the bottom left on the main screen) and before leaving, from the main menu, select Record Track. Be careful, because it might not be present in the 5 main options of your menu: in this case, you can set it by pressing for a couple of seconds one of the options to change it, or you could find it in the Other option. When you start recording, you'll see three other options: the first is Stop recording, the second to Pause it and the third to Record a Waypoint. As you can see down below, the recording menu is the onboard computer, with Speed, Distance, Duration. These data too might be customized simply by pressing on the data you want to switch. Among the possibilities, you have the Elevation Gain, Time, Max Altitude, Min Altitude, Average Speed and many other options.
